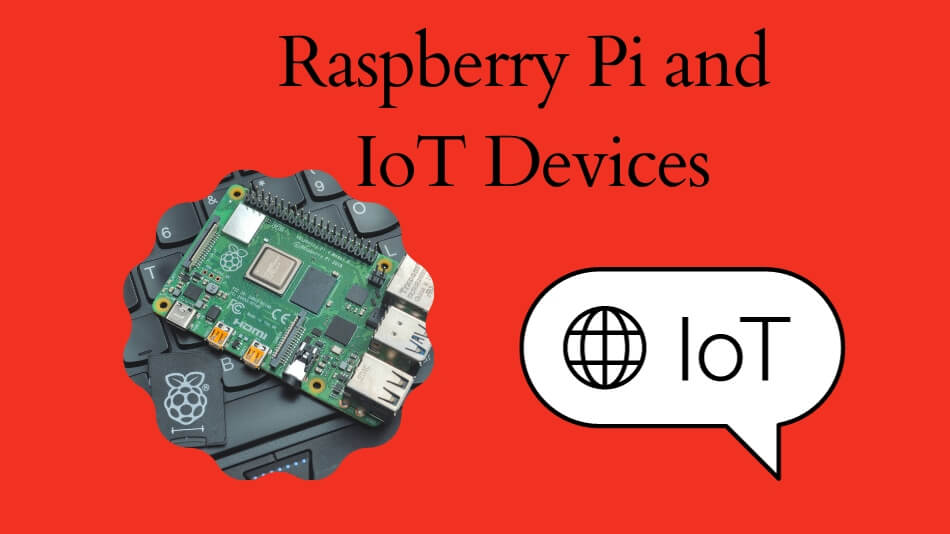
Imagine harnessing the power of the Raspberry Pi to build a robust IoT VPC network that operates seamlessly from anywhere in the world. The concept of remote IoT networks has gained immense popularity, especially with the rise of cloud computing and edge devices. With a Raspberry Pi at the helm, you can create a scalable, cost-effective, and secure solution for managing IoT devices remotely. Whether you're a hobbyist, entrepreneur, or tech enthusiast, understanding how to configure and deploy a VPC network using Raspberry Pi is essential for modern IoT applications.
As technology continues to evolve, the demand for efficient remote IoT solutions has never been higher. A well-designed VPC network powered by Raspberry Pi can provide unparalleled connectivity, security, and flexibility. By leveraging cloud services and open-source tools, you can ensure your IoT devices remain connected and operational, regardless of geographic location. This article dives deep into the process of setting up the best remote IoT VPC network Raspberry Pi configuration, offering step-by-step guidance and expert insights to help you succeed.
From selecting the right hardware and software to optimizing your network for performance and security, this guide covers everything you need to know. Whether you're a beginner or an experienced developer, you'll find valuable information to enhance your skills and build a reliable IoT infrastructure. Let's explore the possibilities and unlock the full potential of your Raspberry Pi-based VPC network.
Read also:Comprehensive Guide To Dish Tv Support Phone Number For Seamless Service
What Is a VPC Network and Why Should You Use It for IoT?
A Virtual Private Cloud (VPC) network is a secure, isolated environment within the cloud that allows you to manage and connect your devices remotely. When it comes to IoT, a VPC network provides several advantages, such as enhanced security, controlled access, and scalability. By integrating Raspberry Pi into your VPC setup, you can create a centralized hub for managing IoT devices, ensuring they operate efficiently and securely.
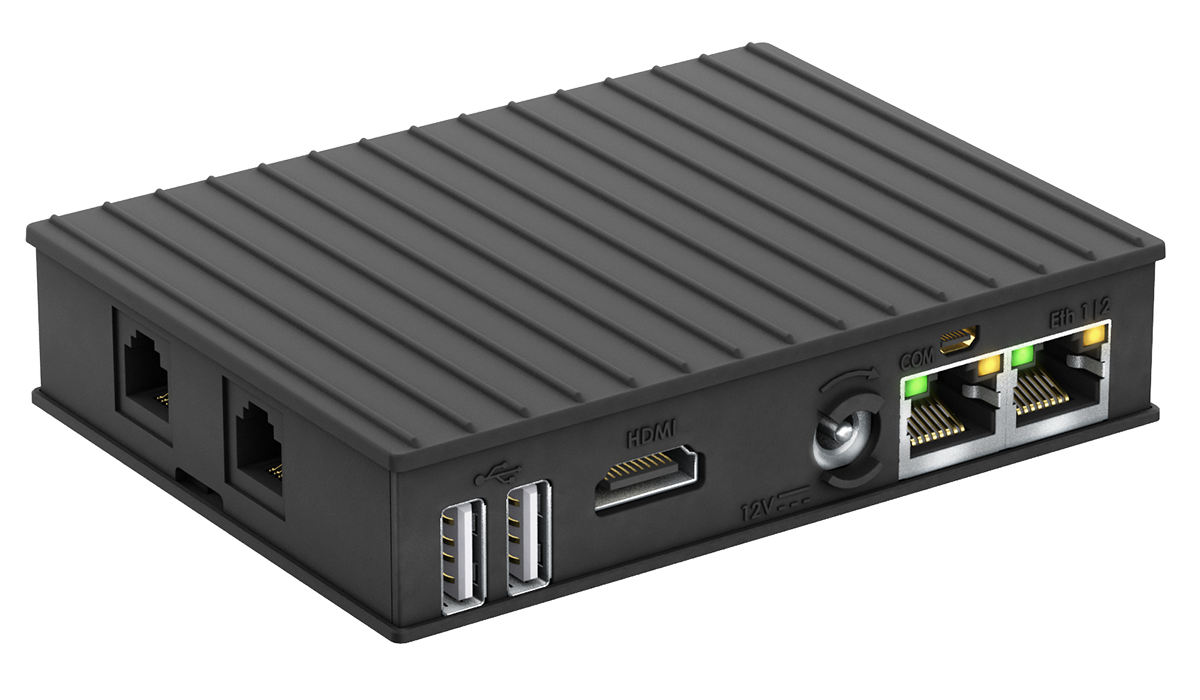
Why Choose Raspberry Pi for Your Best Remote IoT VPC Network?
Raspberry Pi has become a go-to platform for IoT projects due to its affordability, versatility, and community support. With its compact size and powerful capabilities, Raspberry Pi serves as an ideal device for building a remote IoT VPC network. Here are some key reasons why Raspberry Pi stands out:
- Cost-effective hardware solution
- Wide range of compatible software and tools
- Strong community and extensive documentation
- Low power consumption for extended operation
How Can You Optimize Your VPC Network for Security?
Security is paramount when setting up a remote IoT VPC network. To protect your devices and data, consider implementing the following best practices:
- Use strong passwords and encryption protocols
- Regularly update firmware and software
- Enable firewalls and intrusion detection systems
- Limit access to authorized users only
How Do You Set Up a VPC Network Using Raspberry Pi?
Setting up a VPC network with Raspberry Pi involves several steps, from hardware preparation to software configuration. Below is a detailed guide to help you get started:
Step 1: Gathering the Necessary Hardware
Before you begin, ensure you have the following components:
- Raspberry Pi (preferably Raspberry Pi 4 or higher)
- MicroSD card with pre-installed Raspberry Pi OS
- Power supply
- Ethernet cable or Wi-Fi adapter
Step 2: Configuring the Raspberry Pi
Once your hardware is ready, proceed with the following steps:
Read also:Promising Deals Unlocking The Secrets Of Promo Code For Free Delivery Doordash
- Boot up the Raspberry Pi and connect it to your local network
- Update the operating system using the terminal
- Install necessary software packages, such as OpenSSH and Docker
Can You Automate the Deployment Process?
Yes, automation tools like Ansible or Terraform can simplify the deployment process. These tools allow you to define your infrastructure as code, ensuring consistency and reducing manual errors. By automating your setup, you can save time and effort while maintaining a high level of accuracy.
Step 3: Integrating Cloud Services
To enable remote access, integrate your Raspberry Pi with cloud services such as AWS, Google Cloud, or Azure. This step involves configuring a VPC network in the cloud and connecting it to your Raspberry Pi. Follow these steps:
- Create a VPC in your chosen cloud provider
- Set up a VPN or SSH tunnel for secure communication
- Test the connection to ensure everything is working properly
What Are the Best Practices for Managing IoT Devices?
Managing IoT devices in a remote VPC network requires careful planning and execution. Here are some best practices to consider:
1. Monitor Device Performance
Regularly monitor the performance of your IoT devices to identify potential issues. Use tools like Grafana or Prometheus to visualize data and gain insights into device behavior.
2. Implement Data Backup Solutions
Data loss can be catastrophic for IoT applications. Ensure you have a robust backup strategy in place, using cloud storage or external drives to store critical data.
Is It Possible to Scale Your IoT Network?
Absolutely! Scaling your IoT network is essential for accommodating growth and new devices. By leveraging cloud services and containerization technologies, you can easily scale your infrastructure to meet changing demands.
3. Optimize Energy Consumption
Raspberry Pi is known for its low power consumption, but you can further optimize energy usage by implementing power-saving features and scheduling device operations during off-peak hours.
How Can You Troubleshoot Common Issues?
Even with the best preparation, issues may arise. Here are some common problems and their solutions:
Connection Errors
If you encounter connection errors, verify your network settings and ensure all devices are properly configured. Check firewall rules and restart services if necessary.
Performance Bottlenecks
Performance issues can stem from insufficient resources or misconfigured settings. Analyze your system logs and adjust parameters to improve performance.
Can You Use Third-Party Tools for Enhanced Functionality?
Yes, third-party tools can significantly enhance your IoT VPC network. For example, using MQTT brokers like Mosquitto can streamline communication between devices, while Home Assistant can provide a user-friendly interface for managing your setup.
Conclusion: Building the Best Remote IoT VPC Network Raspberry Pi
Creating a remote IoT VPC network using Raspberry Pi is a rewarding endeavor that offers numerous benefits. By following the steps outlined in this article, you can build a secure, scalable, and efficient solution tailored to your specific needs. Remember to prioritize security, optimize performance, and continuously monitor your network to ensure long-term success.
Table of Contents
- What Is a VPC Network and Why Should You Use It for IoT?
- Why Choose Raspberry Pi for Your Best Remote IoT VPC Network?
- How Can You Optimize Your VPC Network for Security?
- How Do You Set Up a VPC Network Using Raspberry Pi?
- Step 1: Gathering the Necessary Hardware
- Step 2: Configuring the Raspberry Pi
- Can You Automate the Deployment Process?
- Step 3: Integrating Cloud Services
- What Are the Best Practices for Managing IoT Devices?
- How Can You Troubleshoot Common Issues?